Sunday, June 13, 2010

Ok, finally time to start back up...


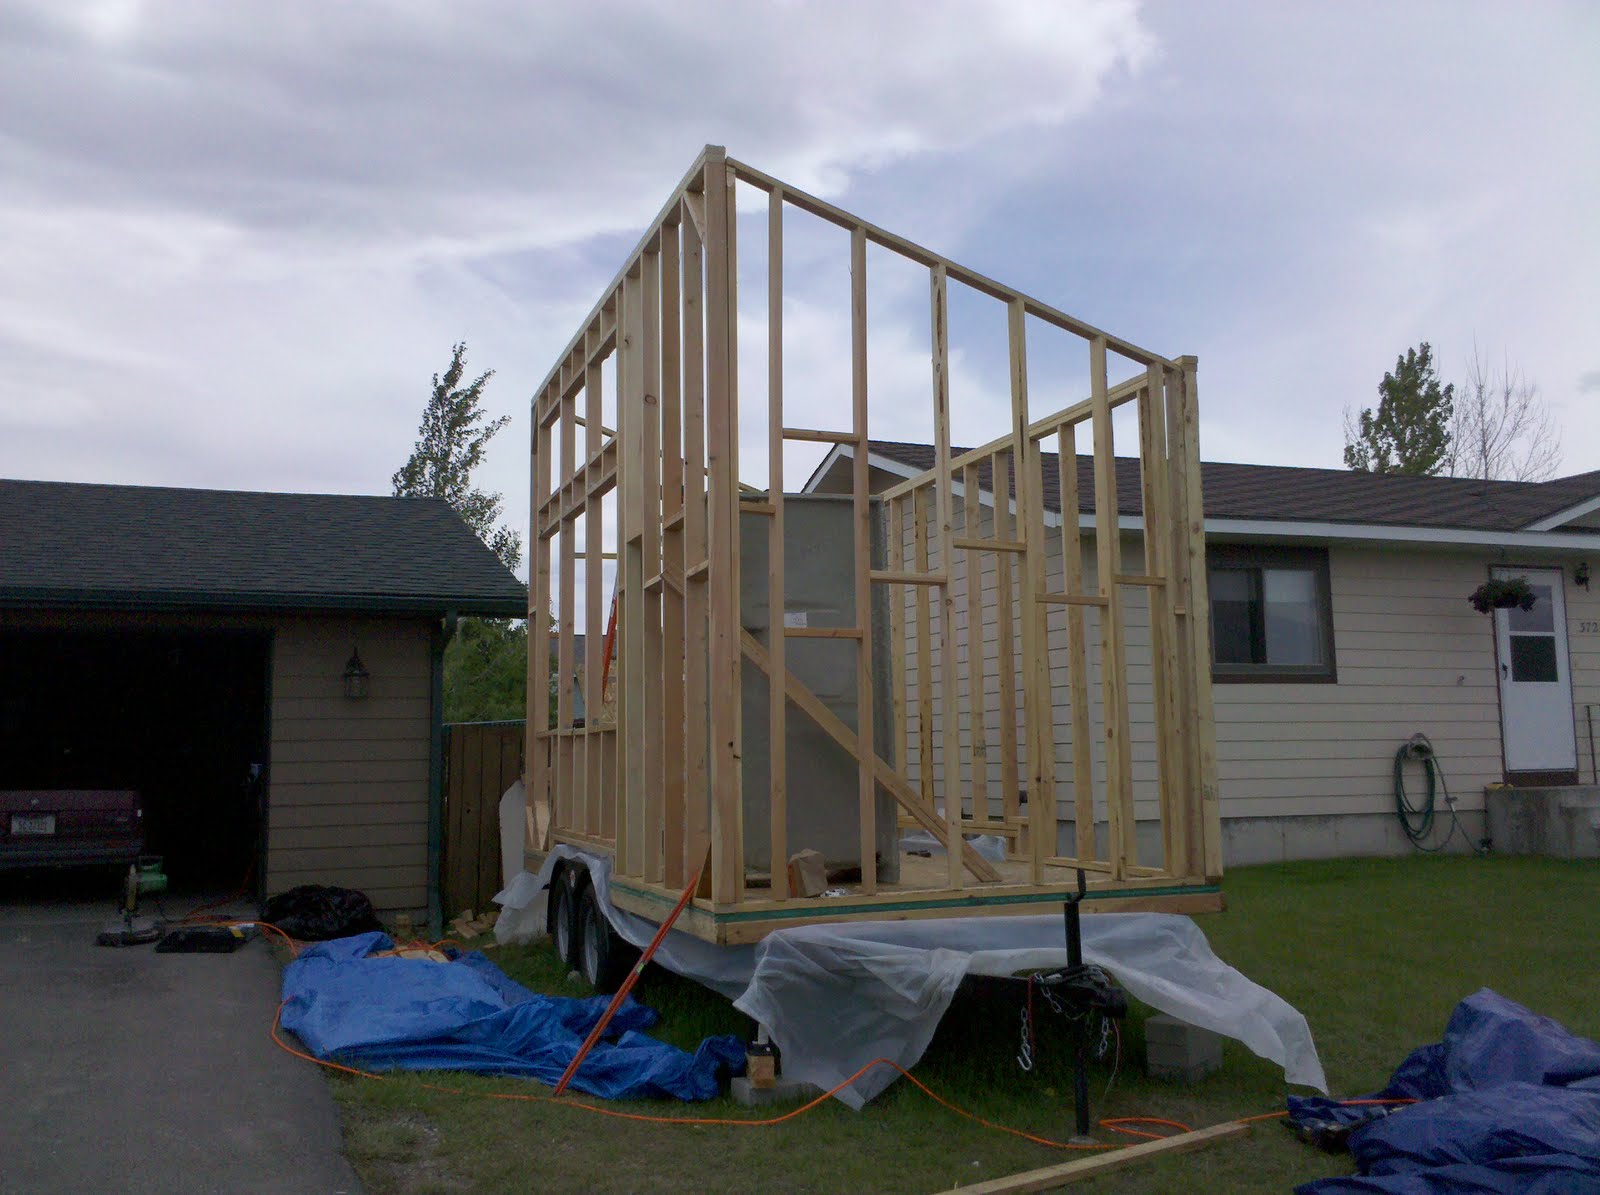
Well, I'm moved into Montana now and have had some time to work on the TH finally. The weather has been not so nice, quite rainy, but it has finally relented. So, I got the walls framed out and let me tell you...figuring out angles without advanced geometry or some other type of math is hard. The good news is once you get one end wall done, you can basically copy it for the next one.
Here's a piece of advice, make sure when framing side walls that the top and bottom are the same length. What I mean is, since you have to split the bottom of the wall frame to accomodate the wheel wells, it is imperative that you ensure it is the same lenght of as the header of the wall before you put the studs in otherwise you will need to start all over fresh. Measure twice cut once.

Up next...roof joists. I have already begun experimenting on cutting the birdsmouths out of joists but that is not as easy as it sounds, I'm sure there is a tool I need or something. Also I have begun putting up some wall sheathing. But that's all in the next edition.

Monday, April 26, 2010

Quick post

So, at the end of the week I will be moving to the great state of Montana. I had planned on getting the TH walls, roof, and sheathing up before the move but between the weather in previous weeks and other obligations I put construction on hold until I got to montana. As soon as I'm there it will be full speed ahead. I'll keep you all posted.

Tuesday, April 20, 2010

It would make a great dance floor...

...but I have bigger plans for it.

I have finished the floor, I used 1/2 inch OSB (oriented strand board) in two layers. The first layer was secured to the floor joists with screws every six inches and Liquid Nails. In this layer each board was placed left to right on the trailer. The second layer boards were placed perpindicular to the first layer so none of the joints matched up to prevent them from coming up.

Here is a close up image of both layers. The second layer was also secured with screws every six inches and Liquid Nails. You could use thicker OSB and make just one layer but my building inexperience led me to buy all 1/2 inch boards so some friends told me of this alternative method.
I am currently faming out the two end walls. These are probably the most difficult walls for the inexperienced because of all the angles, but once the first one is built the second goes much faster. I will post some pics and descriptions when they're finished, but until then I will leave one last picture. I saw this on a 2x4 while framing and thought it was a good sign. Have a nice day all.


Sunday, April 11, 2010

And now for something a bit more...insulated


After securing the floor joists I added foam insulation between the joists. This step is pretty easy you can basically score the foam and then snap it. This particular foam is a bit more expensive than the white foam but it has a higher R-value (12.9 @2 inches). Then I sealed the edges with expandable foam (it's called Great Stuff) hopefully this is enough because Bozeman gets really cold in the winter.

It's like a poncho, for the bottom of the house


Before securing the floor joists to the trailer I slipped a vapor barrier (thick plastic sheet) between the joists and trailer.
Next, I attached the joists down to the trailer with 20 of these brackets.